New Toys
I’ve finally gone and bitten the 3d printing bullet and of course, I’ve jumped off the deep end into resin or SLA printing instead of going with FDM printing. Resin printing is a bit more daunting, and definitely has it’s limitations over FDM (build volume, post processing complexity, mess, etc.), but I think the advantages will ultimately out weigh all that for what I want. Which is the ability to print small, reasonably detailed things that are strong in almost every direction. One of the disadvantages of FDM vs SLA that I didn’t mention is that there is distinctly difference in the strength of a part depending on where the layer lines are in relation to the load applied. SLA printed parts are largely unaffected by this due to the way resin cures vs how the filament in FDM prints is put down. At least that’s my understanding from the little (probably highly unscientific research) I’ve seen online.
Now then, down to specifics.
The printer I picked up is a Photon Mono from Anycubic. It was around 25% off at the time I’ bought so I went ahead and ordered a version packaged with 2kg of resin and a Wash & Cure Machine 2.0 In hindsight, I probably should have ordered the items separately instead of as a bundle because of a limitation in Anycubic’s online store. The shipment had to be split into three separate packages (one for the printer itself, the wash & cure machine, and the last for the resin) nut their software only gives you one of the tracking numbers. I watched that one tracking number make it’s way across the country from somewhere up on the east coast, watched the UPS delivery man pickup one box, watched him proudly drop it at the door, nod to me through the window of my office (which happens to be right next to our front door), and then drive off in his truck.
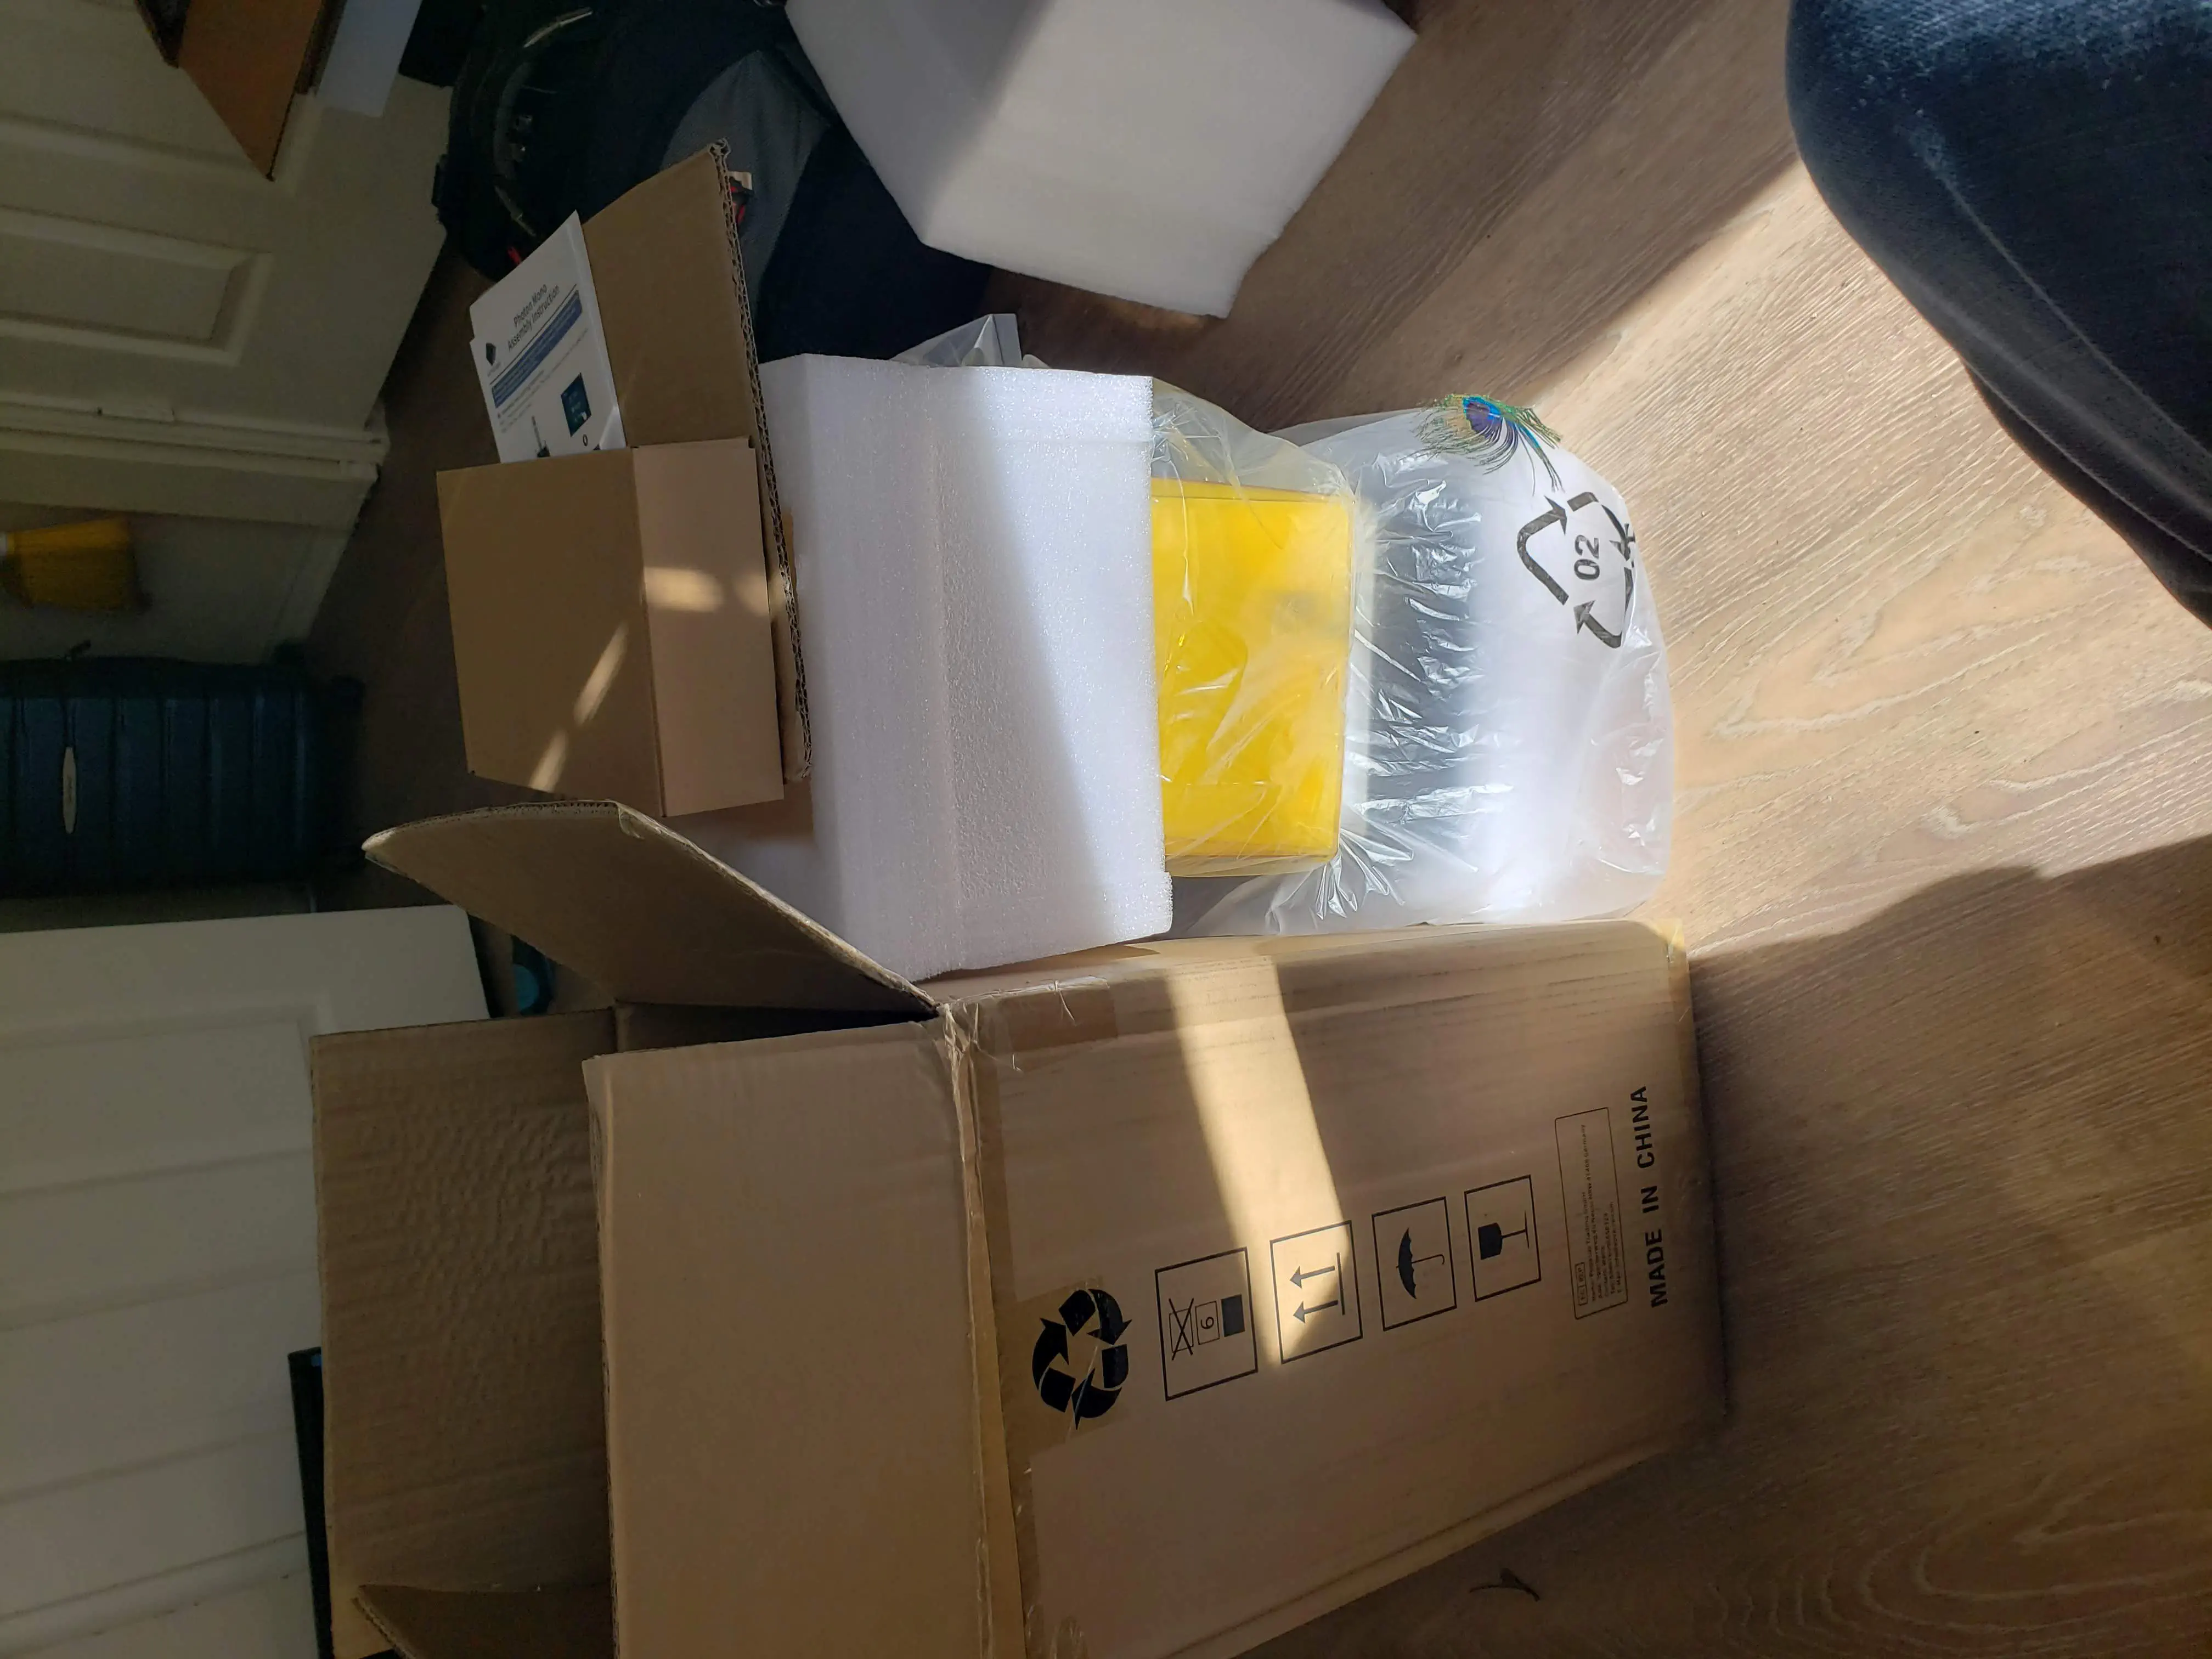
Partially unboxed printer, and only the printer...
A quick email Anycubic’s support , an overnight wait, and I had the other two tracking numbers. Their store page is quite unhelpful on this point, simply stating that the order was fulfilled. I suspect that if I had ordered the items separately they would have been separate line items and had a place for their individual tracking numbers. Which would have made this a much less disconcerting experience.
Thankfully, I ordered some Anycubic Translucent Green resin through Amazon since I was pretty sure the 2kg coming with the printer was a standard grey. Of course, I don’t have that resin yet so I have no idea, but the extra bit of foresight meant I could actually try out my the printer instead of having to wait for the rest of my order to arrive.
Either way, the printer works quite nicely with the newest free version of Lychee. I didn’t even try slicing with Photon Workshop. Mainly because none of the creator’s I’d seen online were using it and what little experimenting I did before getting the printer left me underwhelmed. Chitubox is also on my list to play with at some point, but Lychee is working pretty well, and I’d like to get one tool under my belt before branching out too much. Modeling tools are also a bit up in the air right now. For the moment, I’m sticking to pre-designed models I’ve found over on thingiverse just to get my feet wet. In particular I started with the Photonsters validation matrix and the Make: Rook.
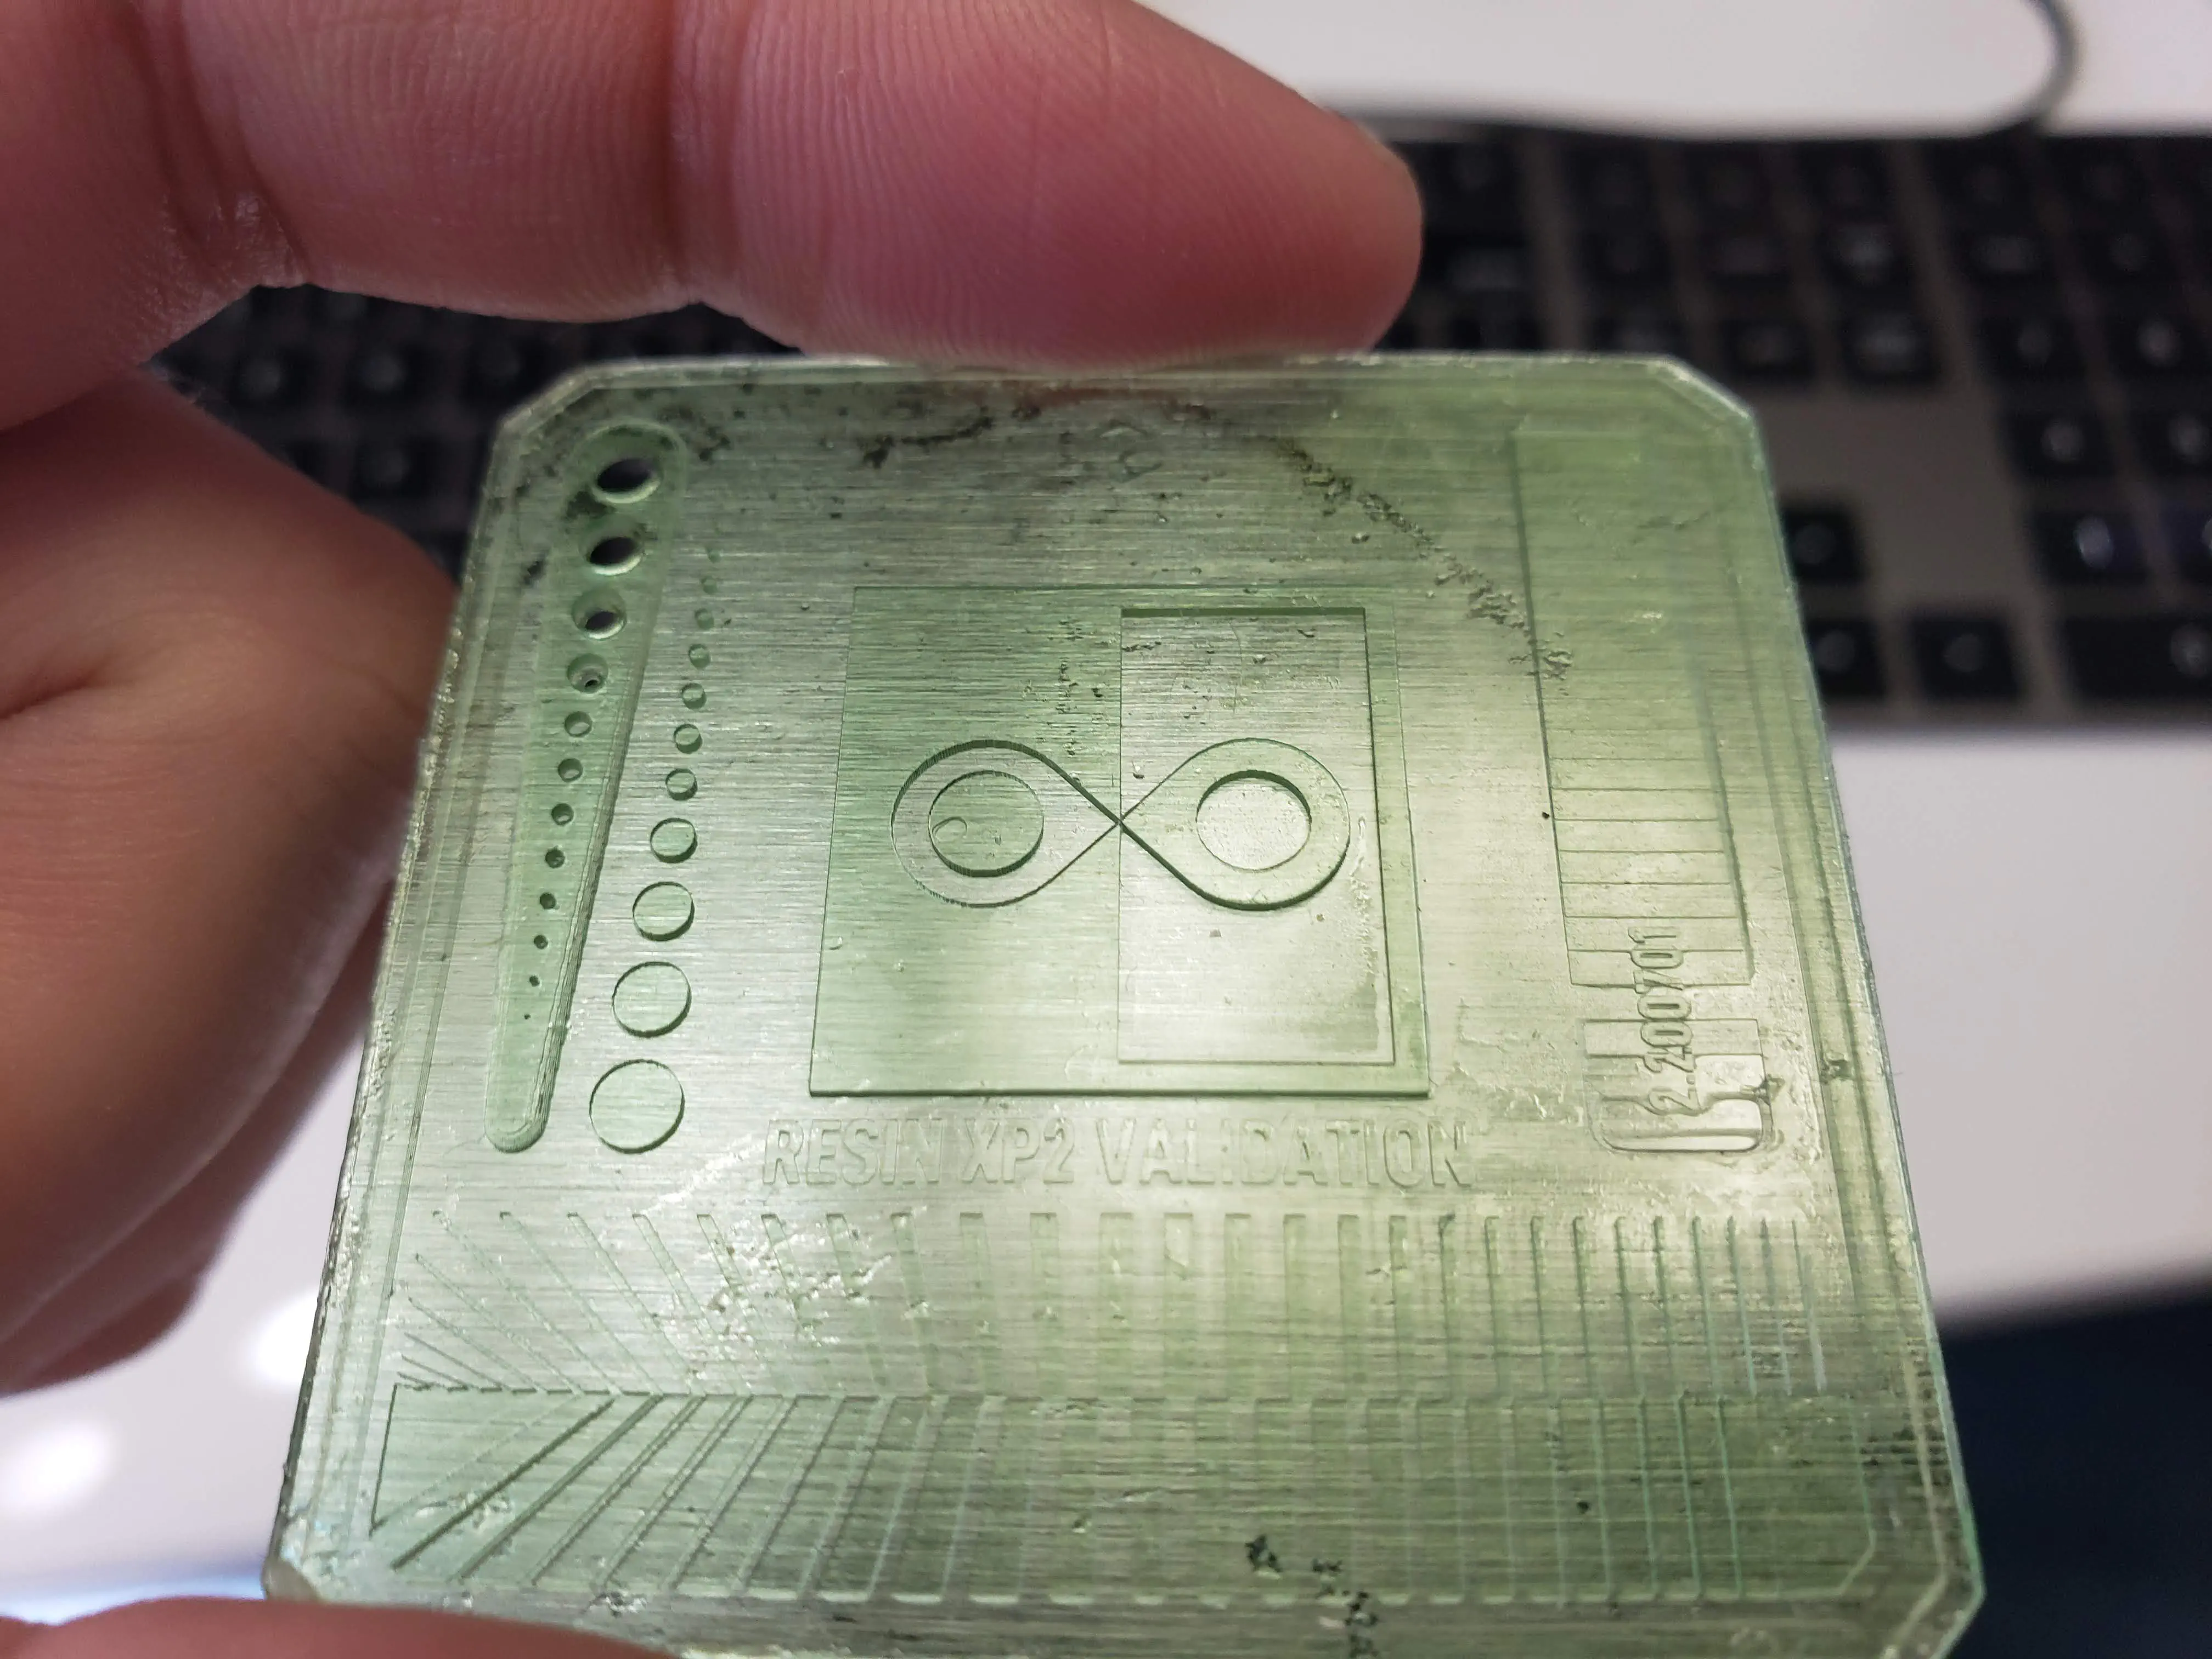
Photonsters validation matrix, definitely need to work on post processing technique.
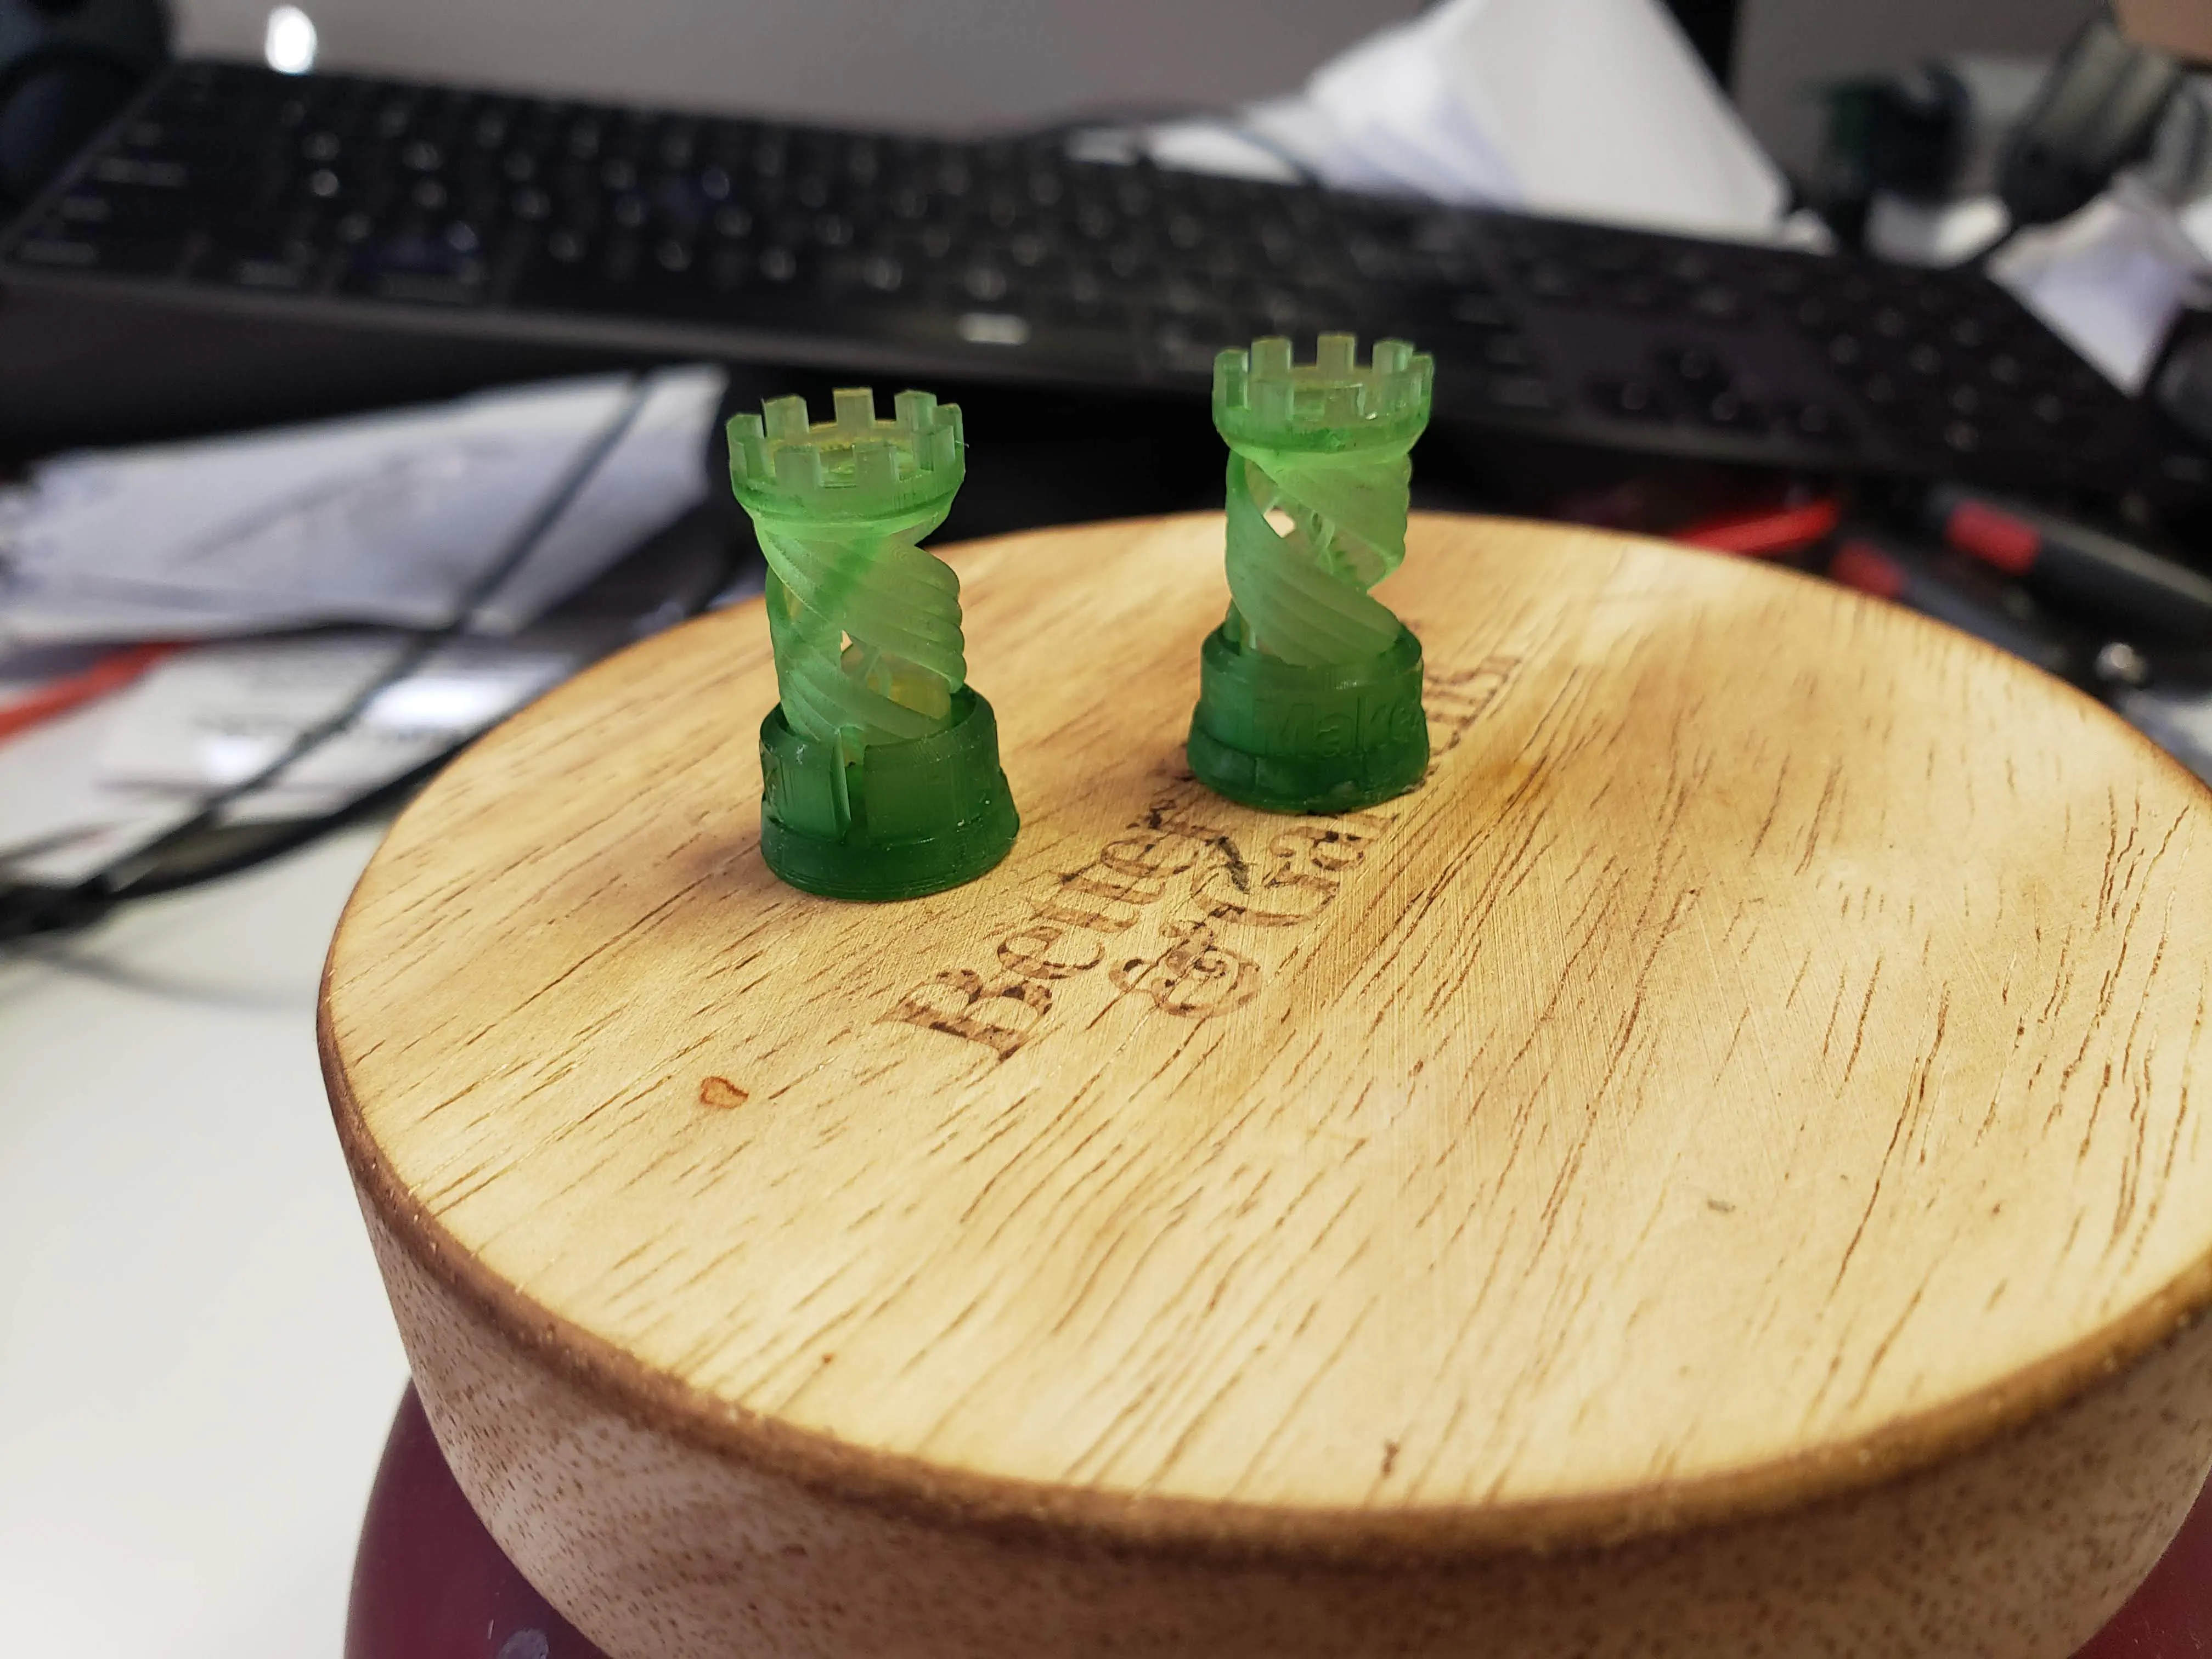
Make: Rook. It turned out decently.
For the moment I’m using Klean Strip Fuel Denatured Alcohol (A. K. A. “dentured alcohol”) as I had some on hand and didn’t want to try to find a large quantity of high concentration (95% or better) Isopropyl Alcohol. From what I’ve seen online, you need the high concentration or it doesn’t really work. The Klean Strip is supposed to be roughly half Ethyl and half Methanol. Both are pretty nasty stuff and you don’t want to use either of them near flame or without proper ventilation. Then again, resin itself is pretty dang nasty and must be used in a well ventilated area. Definitely not something to mess with in a small apartment. My printer is setup in the garage for now. Even then I quickly discovered that I needed to re-weather strip the garage door to avoid fumes sneaking into the rest of the house.
Final cure, is a bit of a problem though. So far, I’m going with about 10~20 minutes outdoors. I’ve ordered a stop gap curing chamber to play with since the Wash & Cure machine has an ominous “delayed” on it’s tracking number. This might ultimately prove to be all I really need for the curing side of things, not sure just yet. My understanding is that curing only takes a few minutes per part in a UV chamber and you don’t want to over do it or you risk cracking, yellowing, and generally destroying the print.
For a first “real” project, I’m hoping to reproduce a clone of “The Brain” from Magnif. The original had a black base with transparent disks and a black base. There was a short run available some years back with a red base and glitter embedded in the disks. Even that has become unobtanium now and Magnif seems to have gone out of business. I found a clone on Thingiverse and decided to give it a try. I picked the remix by bgkdavis that theoretically avoids the need for glued parts. I’m pretty sure the parts are mostly interchangeable between the three versions, at least I really hope they are since this thing is probably going to take me 20+ hours to print.
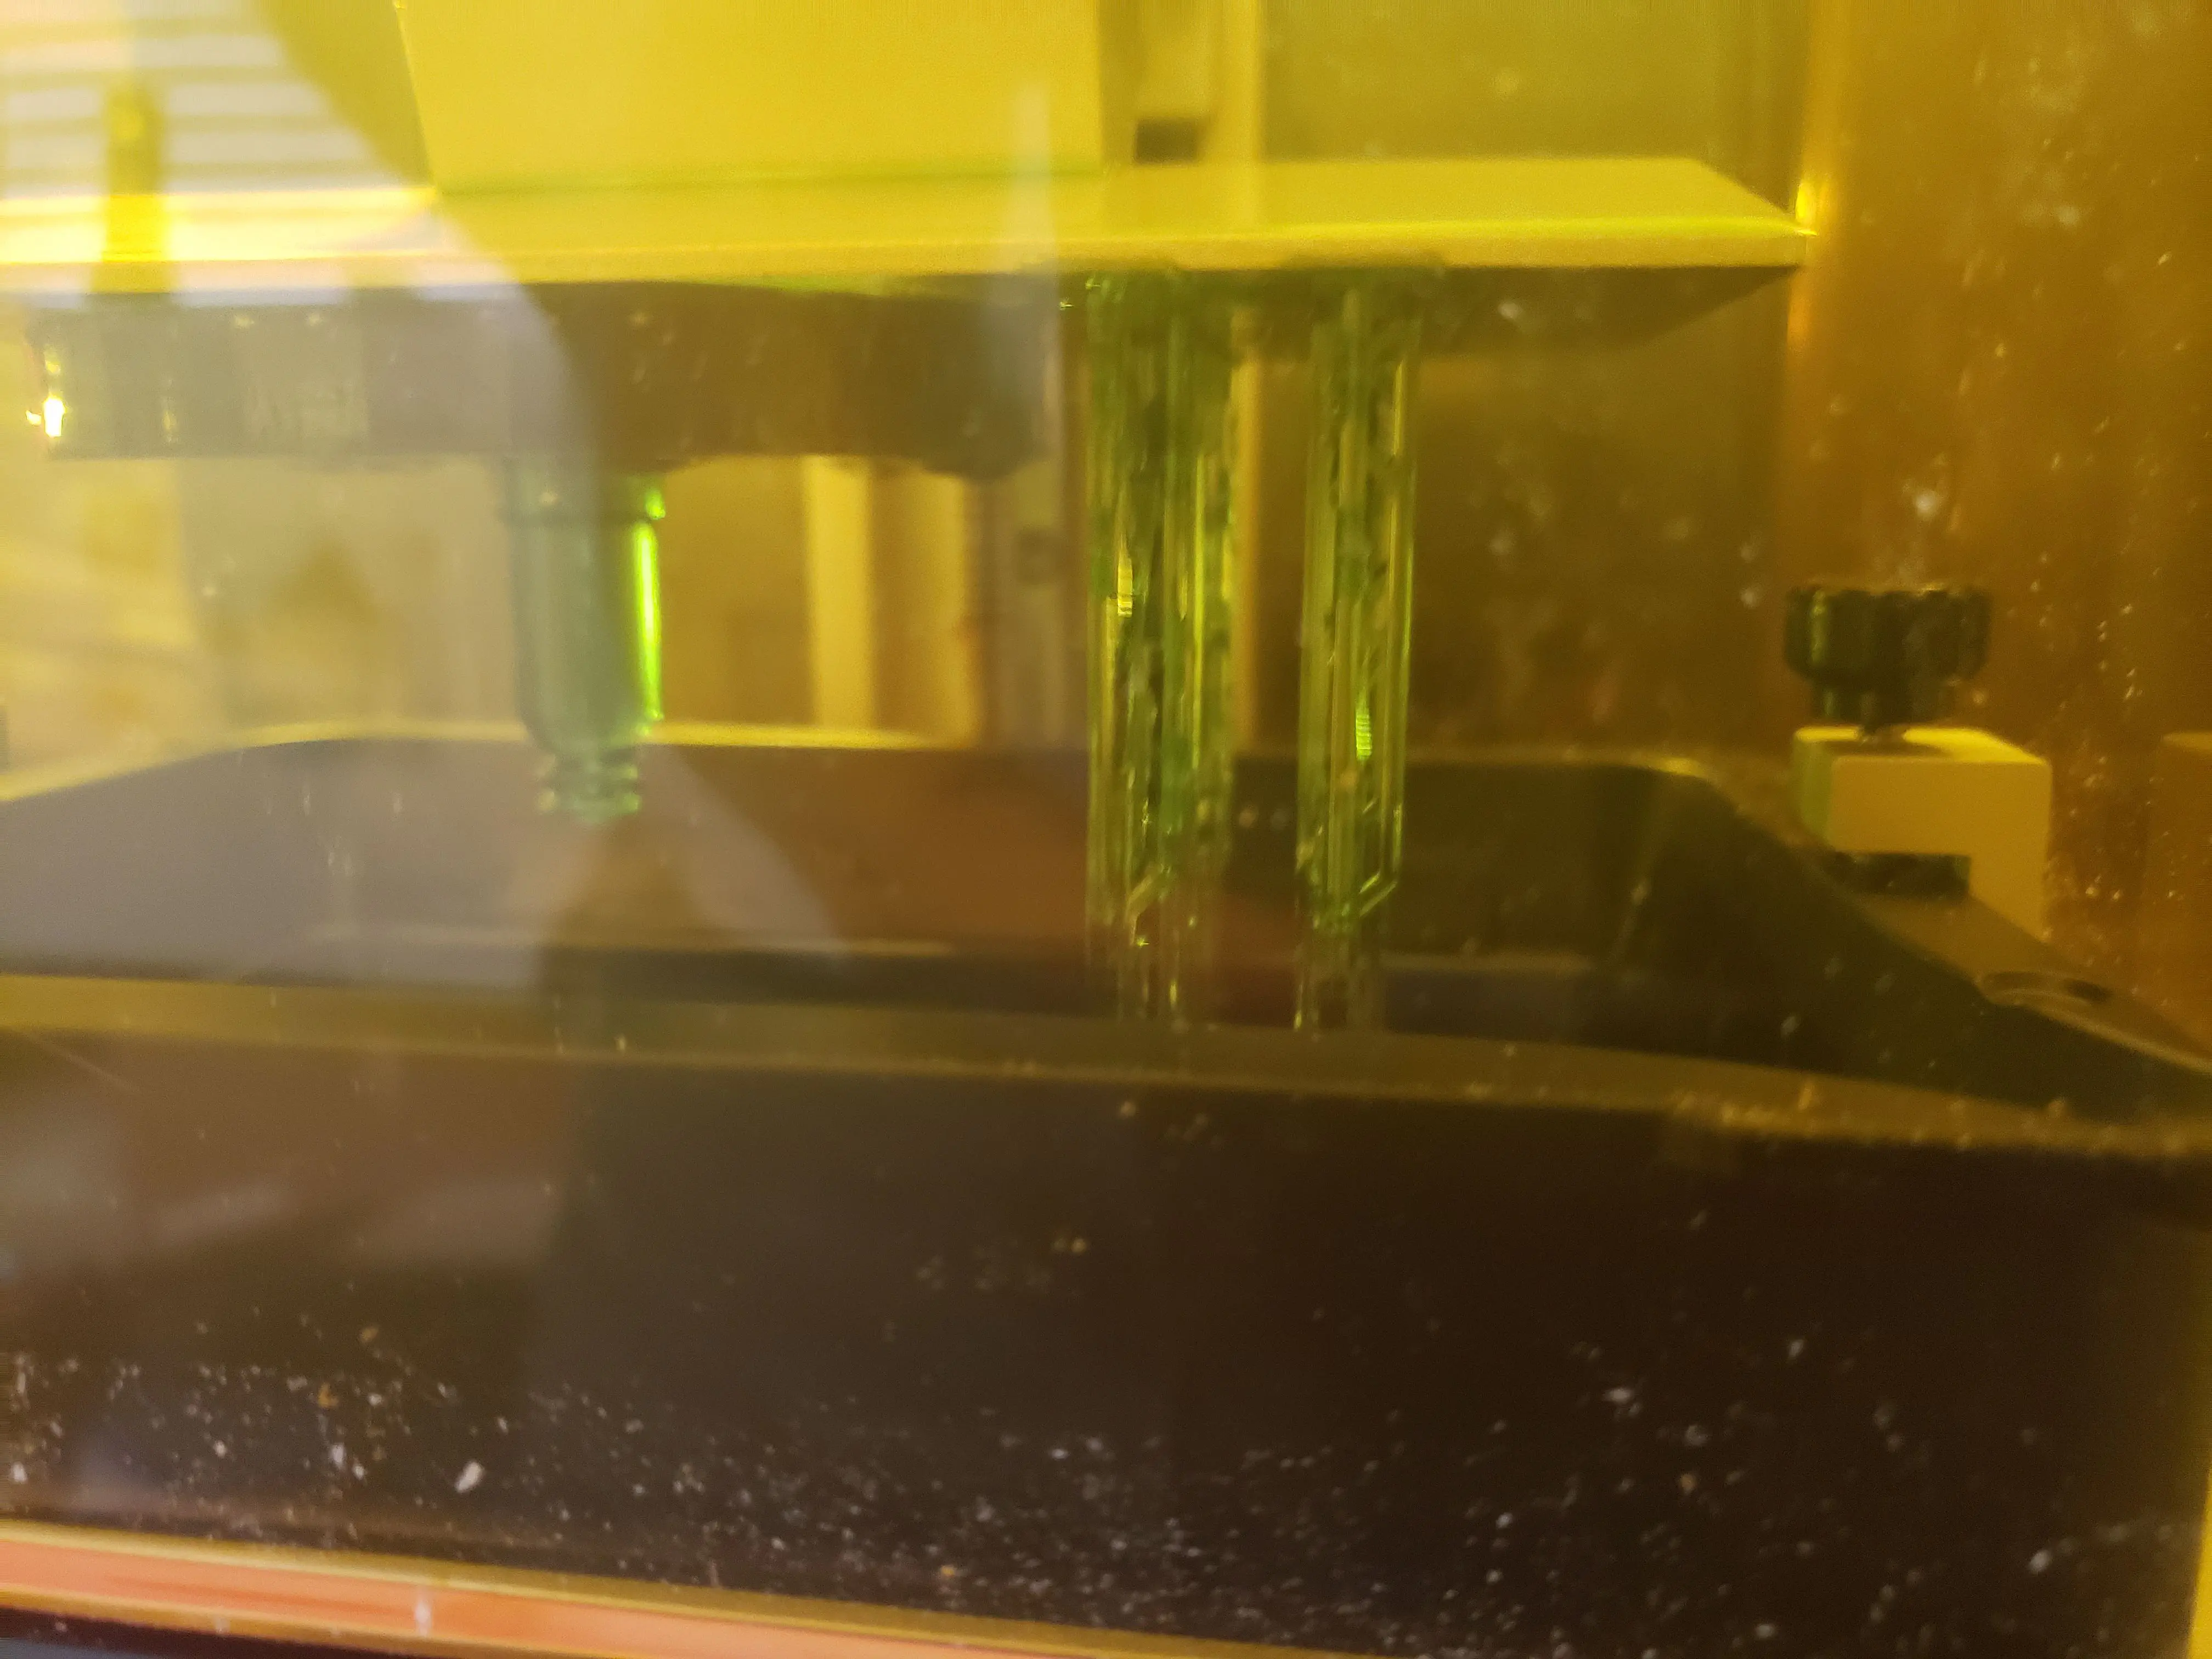
The Brain base and two of the discs that make up the puzzle in the printer.

The Brain base and two of the discs sitting on my desk.
I printed the base flat and scaled everything down to 75% of the original size to get it to fit on my printer. That’s still reasonably large enough to be usable and fits well enough that I don’t have to do anything really exotic with supports (yay Lychee auto support!).

The Brain base from the edge, needs sanding.
The edges are a bit rough, but that’s likely due to my inexperience with post processing and lack of a good wash tank. I’m improvising with some small plastic tubs that once held takeout hot and sour soup. I did go exotic with the discs, and printed them hanging vertically rather than flat to save on the total number of prints I’m going to have to deal with. If you look closely, you can see the pin-prick spots where support material broke free.
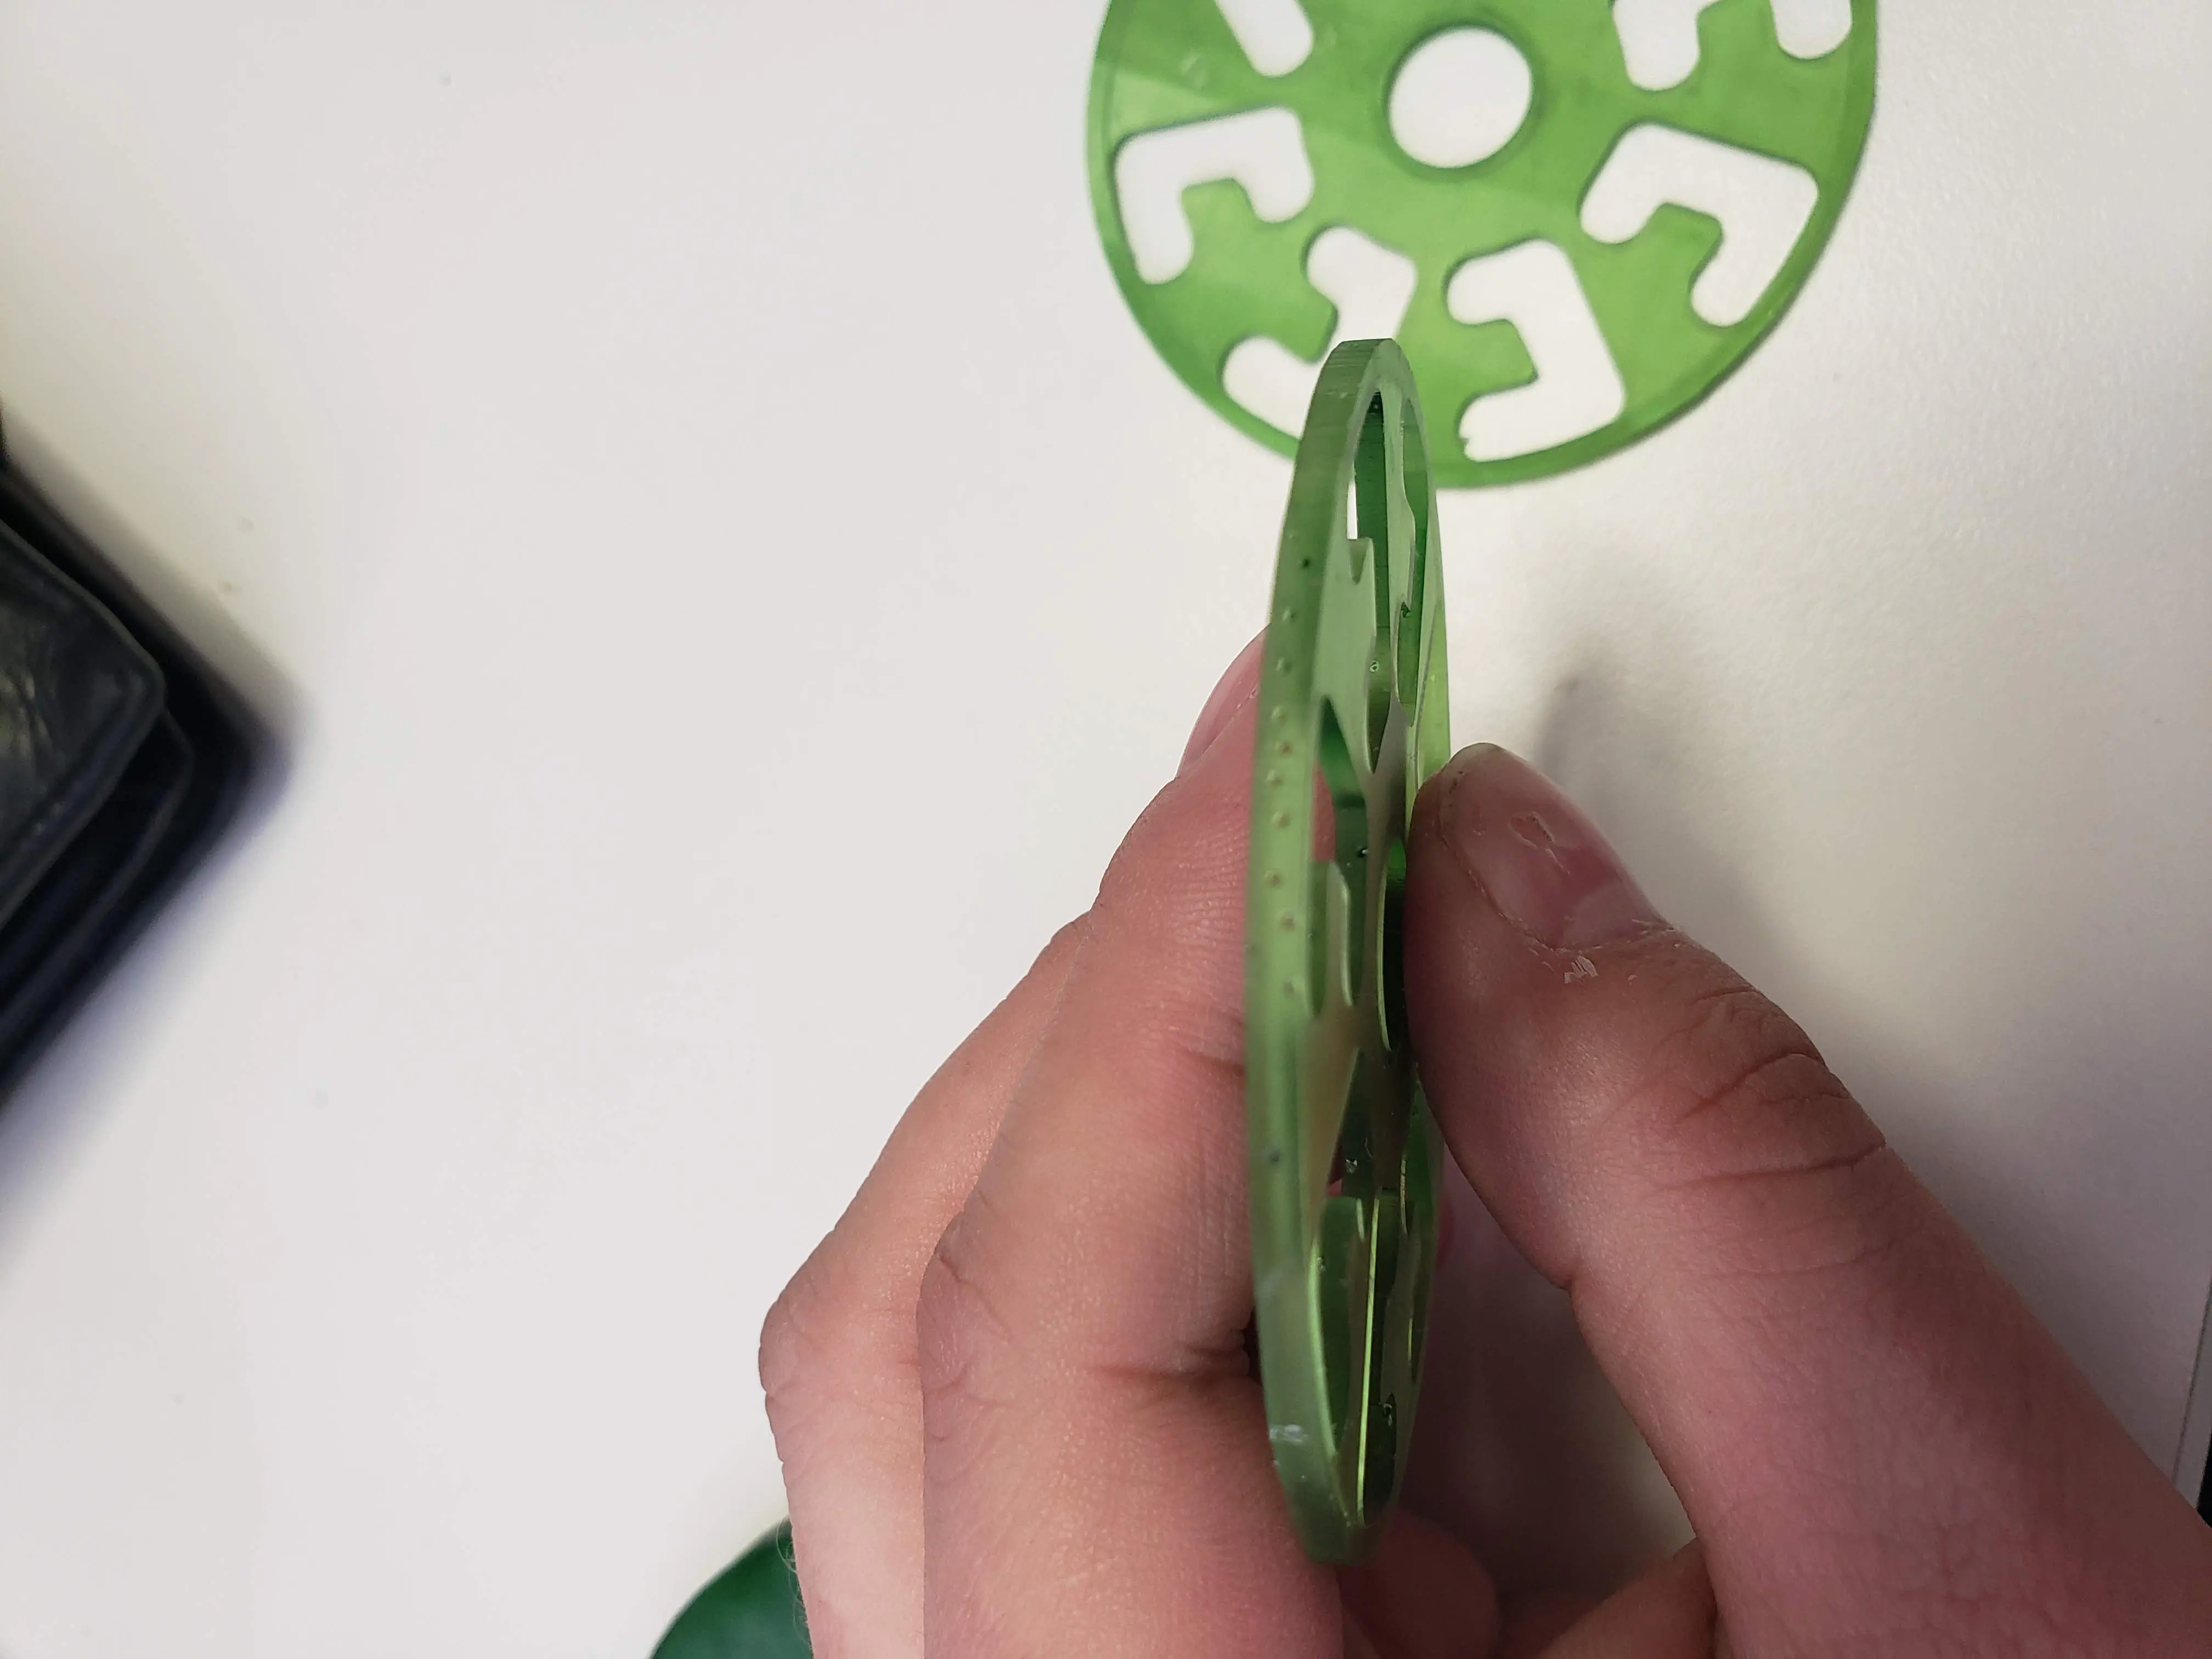
One of the key discs for the game, also needs sanding.
The next set of parts is on the printer right now, hopefully cycling away in the garage. Hopefully, I’ll be able to finish printing and get it assembled this weekend. If not, the printing process doesn’t require my direct attention so long as the resin vat is topped up. I can kick off a print and ignore it for most of the run with no real worries.